Dental Implant Cost in Bengaluru: A Step-by-Step Treatment Breakdown
Replacing a missing tooth with a dental implant is a multi-step clinical journey designed to restore permanent chewing function, maintain jawbone density, and blend seamlessly with your smile.
Because implant treatment involves surgical, diagnostic, and prosthetic phases over several months, understanding how each stage contributes to the overall cost ensures transparency and peace of mind.
This guide breaks down the complete dental implant process from consultation to final restoration for patients in Bengaluru.
Phase 1: Comprehensive Diagnostics and Treatment Planning
Before surgical placement, thorough planning is necessary to ensure safety and long-term success.
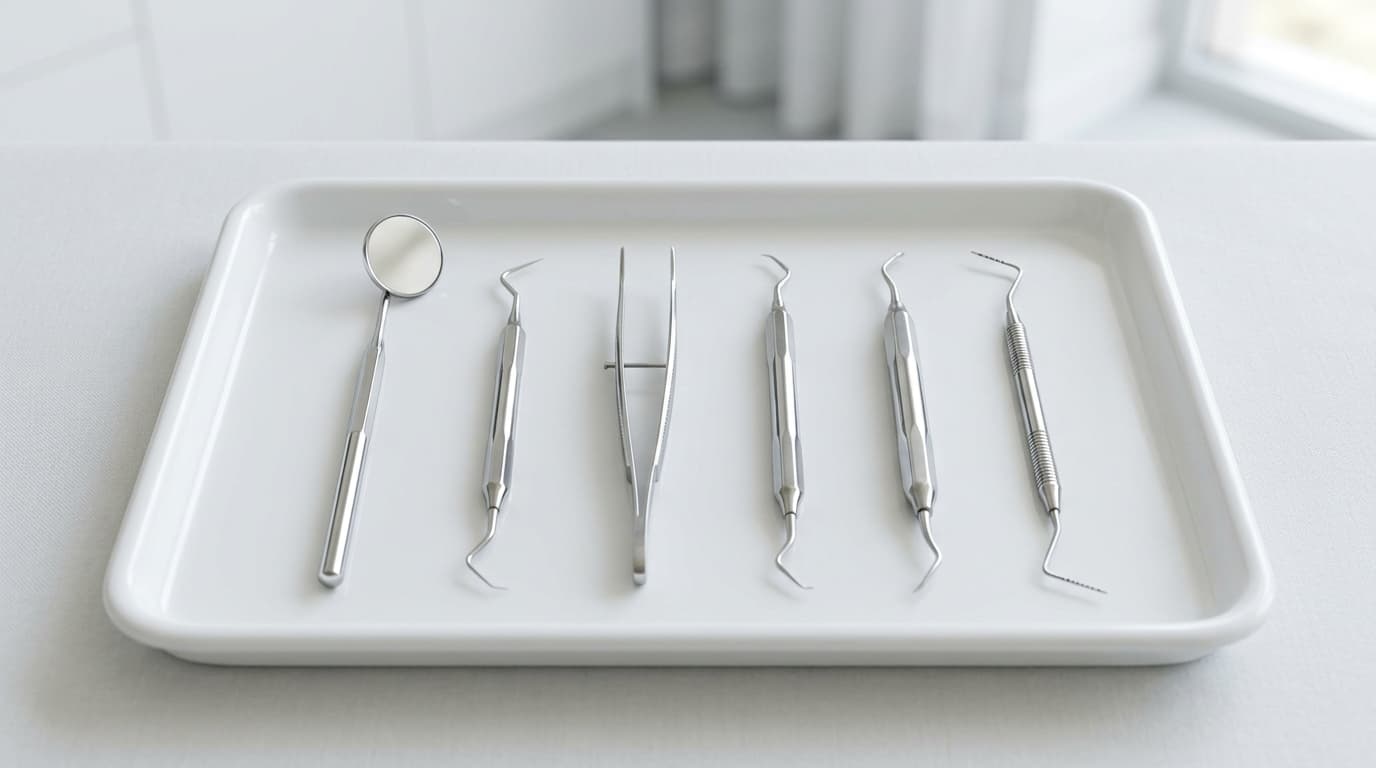
- Clinical Examination: Evaluating gum health, bite alignment, and smile aesthetics.
- 3D CBCT Scan (Cone Beam Computed Tomography): A specialized 3D dental scan that measures exact bone height, bone width, bone density, and the precise position of nerves and sinuses.
- Digital Treatment Simulation: Planning the ideal implant angle and depth using digital software.
Phase 2: Surgical Implant Placement
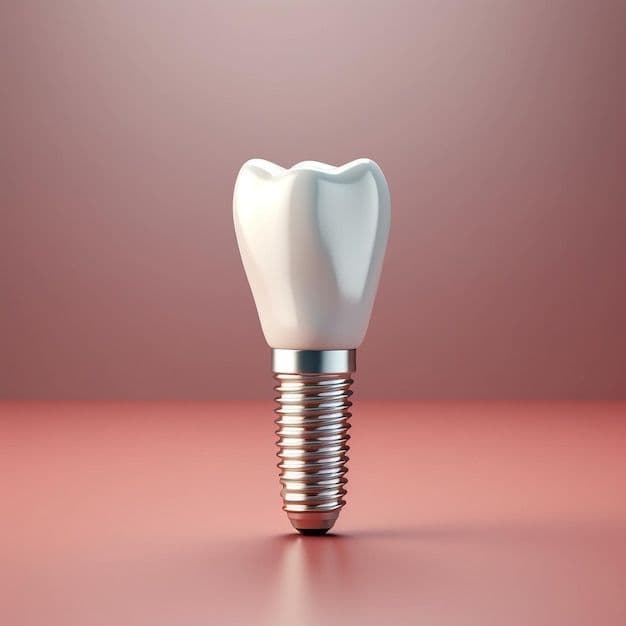
During the surgical appointment, the titanium or zirconia implant fixture is placed into the jawbone.
- Local Anesthesia: The procedure is performed under local anesthesia to ensure complete comfort.
- Implant Fixture Placement: The biocompatible post is placed into the prepared bone site.
- Optional Bone Grafting: If a patient has experienced bone loss following an old extraction, a small bone graft and protective membrane may be placed to reinforce the site.
- Healing Cap (Cover Screw): Placed over the implant while the gum tissue heals.
Phase 3: Osseointegration (Biological Healing Period)
Once placed, the implant must integrate biologically with the surrounding bone:
- The healing process, known as osseointegration, typically takes 3 to 4 months in the lower jaw and 4 to 6 months in the upper jaw.
- During this phase, bone cells grow directly onto the textured surface of the implant, creating a solid anchor capable of withstanding normal chewing forces.
Phase 4: Abutment Connection and Digital Impression
After osseointegration is clinically and radiographically verified:
- A small connector called an abutment is securely attached to the implant fixture.
- A high-precision digital intraoral scan or impression is taken to record the exact 3D position of the abutment and neighboring teeth.
- The scan is sent to a specialized dental laboratory to fabricate your custom crown.
Phase 5: Final Crown Delivery and Bite Calibration
The final step restores your visible smile and chewing function:
- Crown Material Options: High-strength monolithic zirconia or ceramic crowns custom-shaded to match your adjacent natural teeth.
- Fixation: The crown is either screw-retained or cemented onto the abutment.
- Occlusal Calibration: Minor adjustments ensure that biting forces are evenly distributed.
Phase 6: Long-Term Maintenance and Follow-Up
Implants require the same daily care as natural teeth:
- Daily brushing and interdental flossing around the implant crown.
- Annual clinical checkups and professional cleaning to protect surrounding gum tissue from peri-implant inflammation.
Why Low-Cost "All-Inclusive" Shortcuts Carry Risk
When researching implant costs, be cautious of unusually cheap offers that skip 3D CBCT diagnostics, utilize undocumented generic components, or rush the osseointegration timeline. A well-planned implant with high-grade components offers reliable, lifelong stability.
For broader pricing variables across Bangalore, read our guide on what factors influence dental implant costs. If you are evaluating tooth preservation versus replacement, review our guide on root canal versus extraction.
Discuss Your Dental Health with Dr. Arshiya Zakreen
Have questions about this condition or need an accurate clinical evaluation? Visit our clinic in Nagavara, Bengaluru (5 mins from Manyata Tech Park).